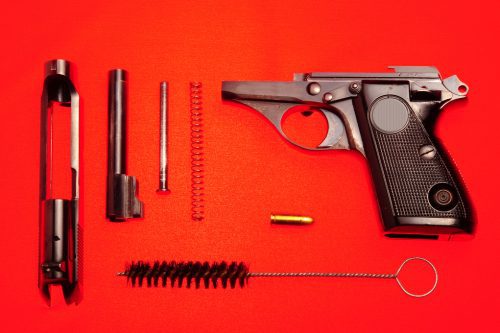
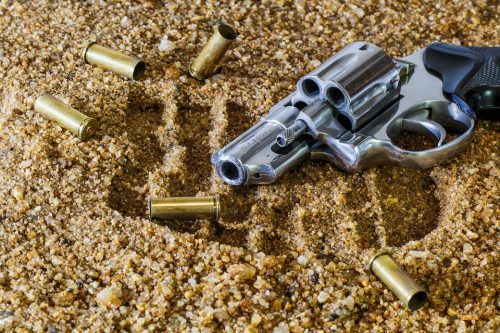
After firing a handgun, be it a semi-automatic or a revolver handgun, cleaning a gun is not as difficult as people think. You need to have the right gun cleaner oil and solvent. In fact, you can clean your gun better than most gunsmiths since you will be giving it a thorough clean.
Cleaning gun parts involve first getting brushes and cotton patches, which should be made of nylon and not bronze. Metal brushes will scratch your gun components; that’s why you need to use soft brushes.

Here Are Some Cleaning Tips To Get Started
- It is good to routinely clean and lubricates your firearm after each firing session. If you are planning on storing your handgun, you must ensure it is clean and well lubricated before storing it.
- Before cleaning your handgun, read the owner’s manual. Most handguns need some assembling to some degree to access the inner components. Make sure to read the right process of disassembling and reassembling of gun components.
- You should carry out the cleaning process in a well-ventilated area to avoid inhaling the chemicals involved. Most of these substances used to clean and lubricate guns are toxic.
- Make it a routine to clean your gun regularly.
- Keep your gun’s ammunition in a separate room; keep it away from your cleaning area.
How to Clean a Handgun
1. Disassembling and Applying Gun Cleaner
Handgun cleaning process typically involves disassembling the main gun parts such as slide and cylinder. After breaking down these parts, spray a safe gun cleaner on your parts and give it a few minutes so it can break down the buildup. Dry the parts with cotton patches to get the cleaner residue off. For heavier buildup, use a toothbrush or nylon brush. If the buildup persists, spray more gun cleaner on the parts and wipe with cotton patches until they appear clean.
2. Lubrication
Choose a quality gun oil and apply it directly to your parts or cotton patches as directed by their manufacturer. You will notice additional fouling being kamagra gold removed, which is a good thing. Lubricate the inside of the barrel with a little oil preferably. Avoid applying too much of it as it will leak out of the gun surface, and you don’t want that. Lubricate the critical points such as rails, slide, connector, and trigger assembly as well. Keep gun oil away from the wooden and plastic parts of your firearm.
Avoid lubricating the firing pin, also known as the striker. Clean any carbon fouling and other deposits, but keep it dry. You need to keep a direct contact between the primer and the pin, which cause a ballistic effect. If a misdirection of these two parts occurs, there can occur a misfiring.
3. Deeper Clean
Repeating the cleaning and lubrication process depends on the frequency of shooting and your shooting environment. If you fire 100 rounds in one event, your cleaning process should be quicker and easier. In the process of cleaning, you should also conduct maintenance on your revolver by making sure the springs are still functioning as required. It takes a long time for your spring to get worn out, but it will happen.

For a thorough clean, you need to disassemble all your gun parts, which could be 30- 50 in total and put them in an ultrasonic gun cleaning machine. Make sure to use gun oils and cleaners that are quality and that works with material of your gun’s parts.
4. Reassembling
Once you have cleaned and lubricated your handgun, it’s time to reassemble it. After that, apply some solvents or gun oil to a clean rag and wipe down your gun.
That is it! Does it sound complicated? You can seek the assistance of a gunsmith to know the process of dissembling and reassembling a gun.
Wrap Up
Owning a gun is a huge responsibility, and regular cleaning is just among the responsibilities needed. Make sure to read your gun’s manufacturer main manual to know the process of disassembling and reassembling your handgun, and always use the best gun cleaners and gun solvents in your work. That way, you will be able to shoot with great accuracy and your gun will serve you for a long time.


Leave a Reply